 by
by Do you periodically take the time to evaluate your use of Chief Architect and improve your productivity and skills in the program? Doing so can streamline your workflow, reduce the time it takes to complete a project, and provide you with higher-quality renders and construction documents. This may entail breaking bad habits and forming good new habits, updating various aspects of the program, or simply learning about unfamiliar tools.
Here are 8 tips and tricks to self-evaluate and improve your productivity in Chief Architect:
- Learn new skills in the software
- Evaluate your approach to file management
- Keep your libraries organized and updated
- Dial in your preferences
- Create a template plan and layout
- Customize your toolbars and hotkeys
- Consider upgrading your computer
- Consider upgrading to the current version of Chief Architect
1. Learn new skills in the software
One of the most significant components to improving your productivity in Chief Architect is learning how all of the tools work. Pick an area of the software you aren’t proficient in and aim to spend an hour a week improving your skills in this area.
- Go through the training video playlists or knowledge base articles on the subject and see if there are videos or articles that cover how to do things you don’t know how to do.
- Watch the webinar replays for a comprehensive review of the subject and to hear software scenarios other Chief Architect users encounter and solutions provided by Chief Architect staff.
- Become active on the Chief Talk user forum to see questions and answers from other Chief Architect users. Post any questions and plans to Chief Talk to get a variety of viewpoints and solutions from expert users while making professional connections.
- Live training classes are taught from a structured syllabus and cover the software’s toolset and best practices. These classes are taught in person and virtually.
- One-on-one personal training allows you to individually connect with a Chief Architect instructor and get your specific questions or plan scenarios answered.
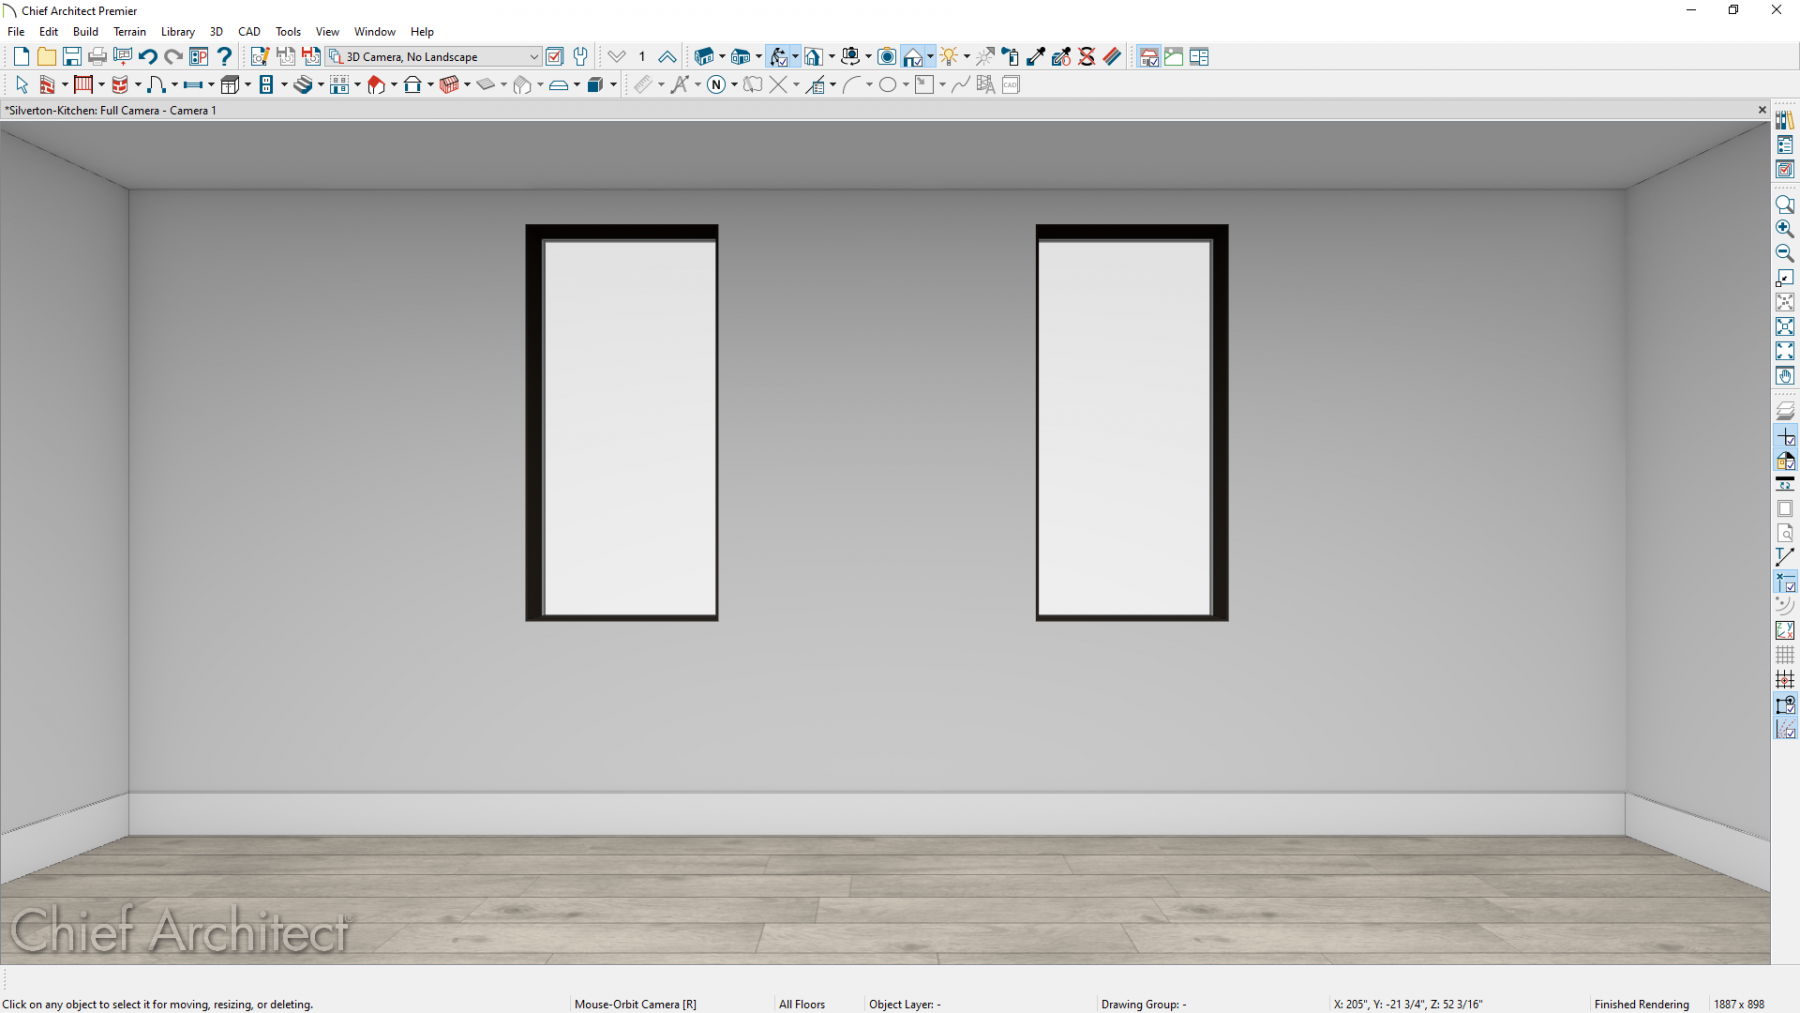
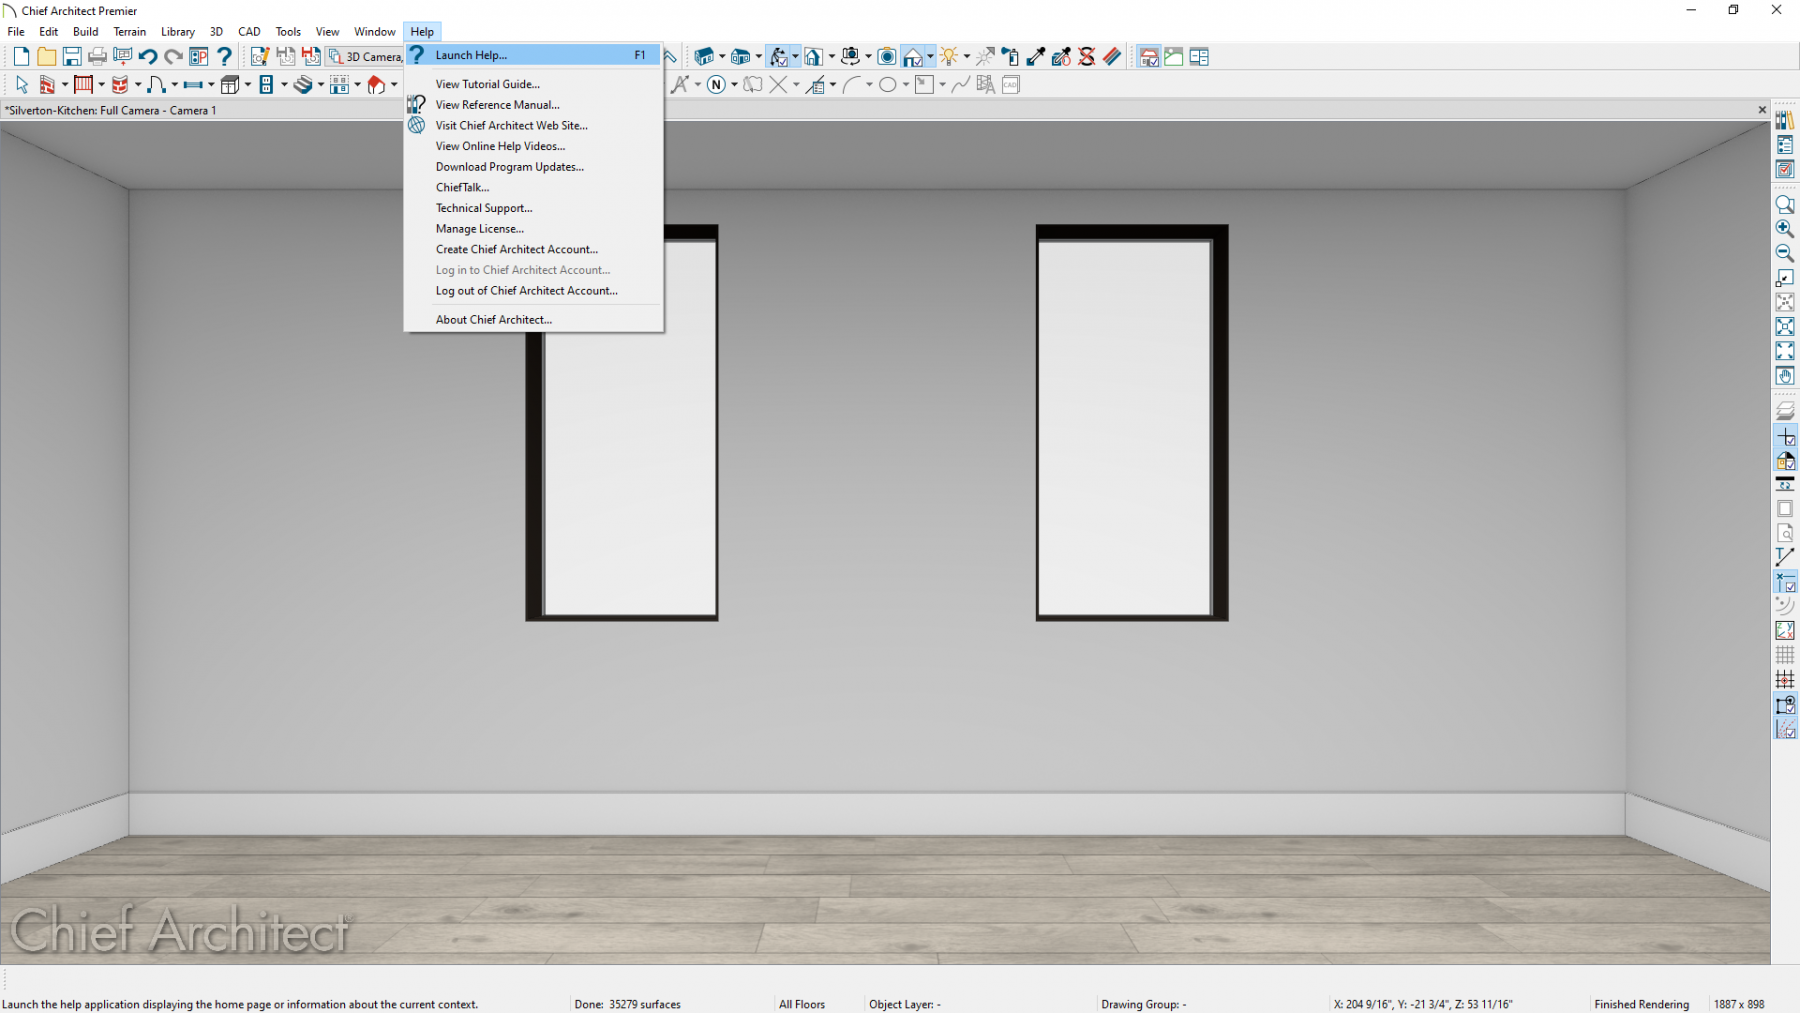
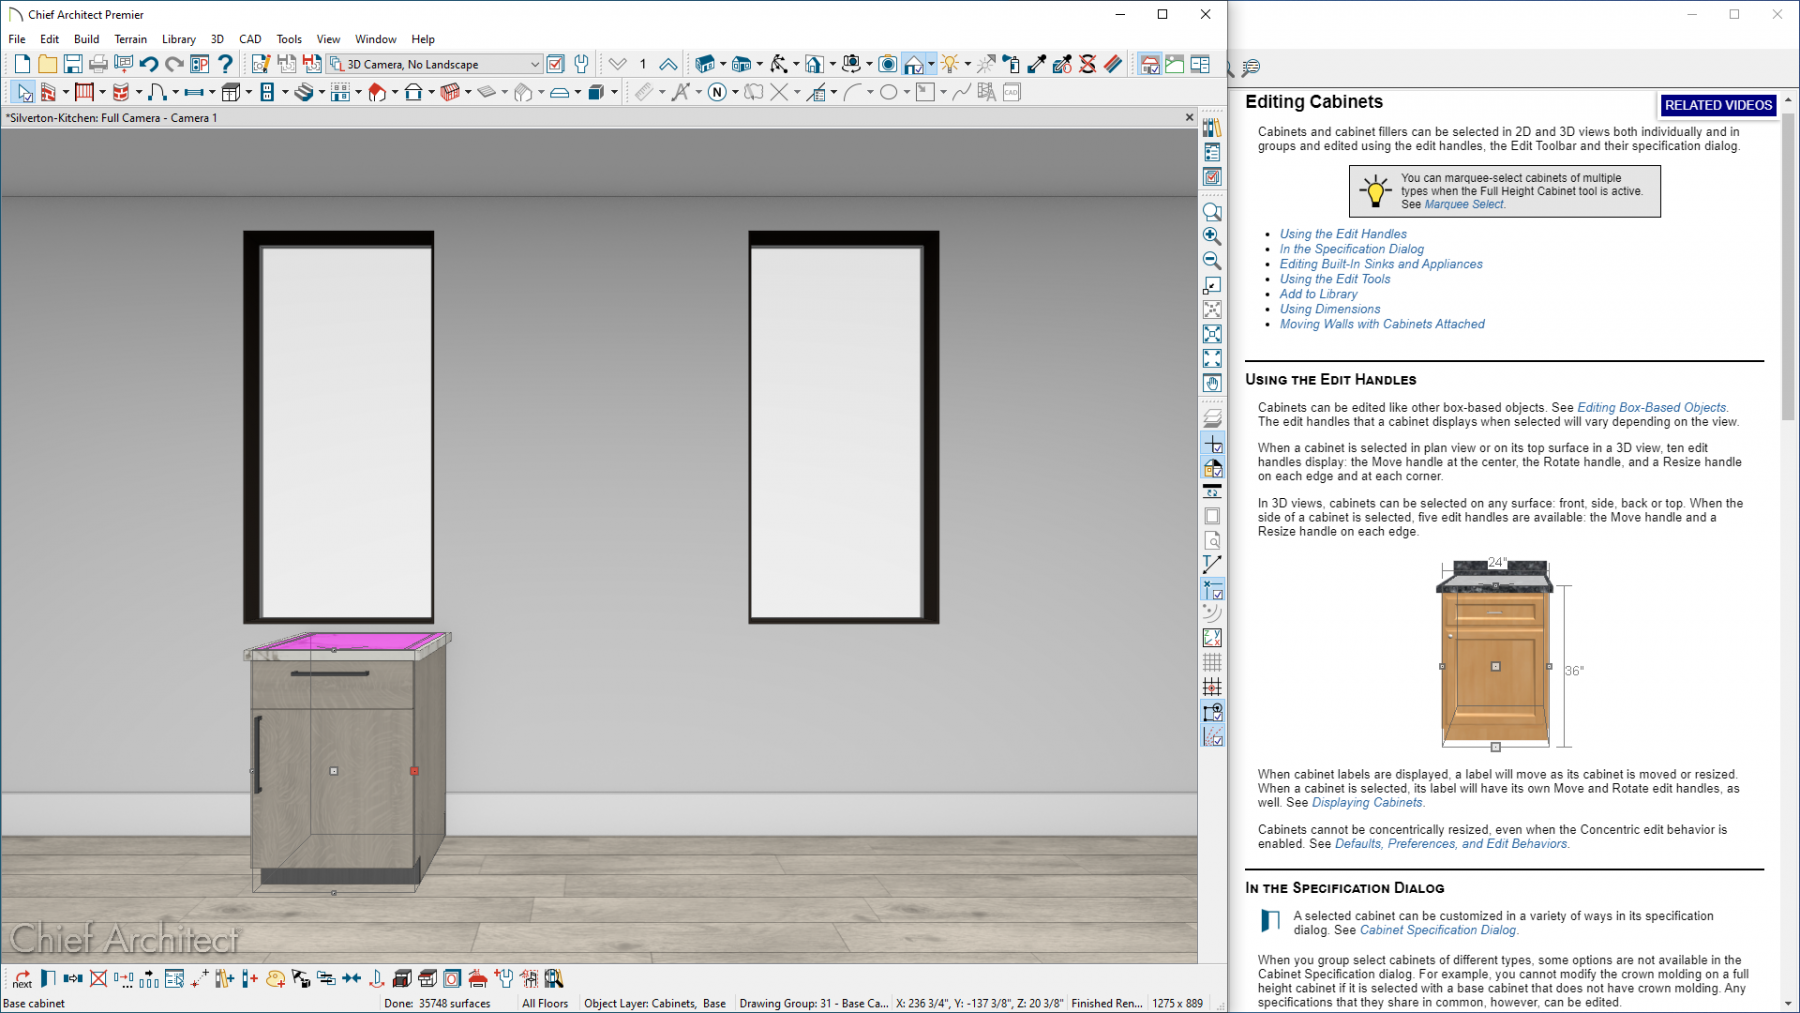
One of the best training features is the built-in help system. When the help system is active, you can hover over or select a tool and the help menu will dynamically update to show you information on how to use that tool. You can also pause the dynamic updates so the Help system remains focused on a specific tool. In the software, you can access the Help system by pressing the F1 key or click “Help>Launch Help.”
2. Evaluate your approach to file management
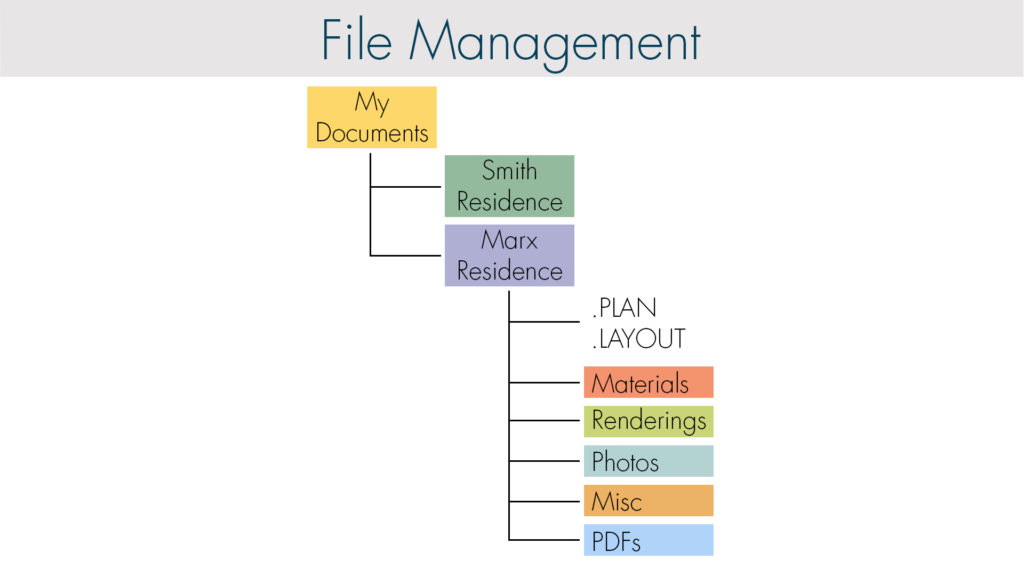
How people store and manage their Chief Architect projects and supporting files will differ from person-to-person. While there are many different ways to approach file management, it’s important to make sure your files are organized in a manner that you understand.
If you have ever had difficulty locating files, are constantly moving files around, or have ever gotten a “missing files” message, it is a good idea to review how Chief Architect recommends managing your files. You could incorporate pieces of this approach into your workflow or fully integrate it.
3. Keep your libraries organized and updated
Keeping your Library Browser organized can make it easier and faster to apply objects, materials, and more to your designs.
- If you have manually downloaded bonus or manufacturer catalogs from the 3D Library, take a look at these folders and delete any duplicate catalogs.
- Periodically go to the 3D Library and download any new catalogs. If you are using Chief Architect X15, turn on “Include Web Results” so that when you search for content in the program any items that meet your search criteria but you haven’t yet downloaded are available for download.
- Make sure your library folders are up to date by clicking “Library>Update Library Catalogs” or when the folder notifies you an update is available, right-click on the folder and update it.
- Evaluate the items in your User Catalog folder. Delete any items that you no longer need. Make sure items have descriptive names. Organize items into a folder hierarchy so that it is easy to locate them.
- If you are using Chief Architect on multiple computers, you can store library catalogs in a cloud location so that the same catalogs are accessible from each computer. Learn how.
- Consider setting up custom filters or applying tags to objects. Filters allow you to see library items based on item characteristics, such as object type, manufacturer, etc. Add descriptive user-defined tags to library items to help you find them more efficiently in search results. Utilizing filters and tags will make it easier to locate your favorite library items and improve the quality of your library search results.
4. Dial in your preferences
Preferences specify how the program looks and performs when you use it. Some examples of preferences you can set are the button size, interface colors, dialog sizes and position, and more. The program Preferences apply to all plan and layout files and are remembered between sessions. Note that preference settings are different than the default settings used to create templates.
You can improve your productivity by understanding what all of the preferences do and setting them up to your liking. Consider spending an hour to open up the preferences and help menu (F1 on the keyboard), run through all of the preference settings, and learn what they do. Make adjustments to any preferences that seem useful to you.
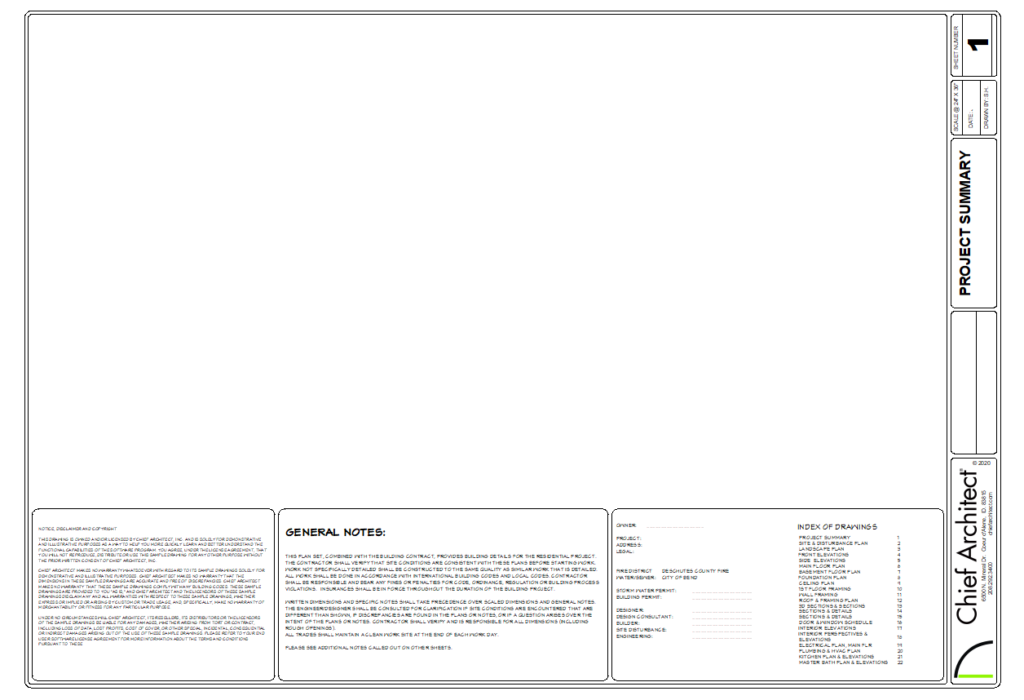
5. Create a template plan and layout
Templates are a starting point for each project you create and are composed of specified default settings. You can have plan templates and layout templates for different types of projects, such as new construction, remodeling, kitchen/bath focused, etc. Understanding what all of the individual default settings do and creating a custom template with the default settings configured for your workflow can save you significant time in the design process. Note that the default settings used for creating plan and layout templates are different than the preferences settings used to configure the user interface.
Consider spending an hour to start a new plan, open up the default settings and Help menu (F1 on the keyboard), and run through the default settings and learn what they do. Even if you don’t think you would use certain default settings right now, you may use them in the future and now you know the setting exists. Repeat this process for layouts.
Chief Architect has a feature called “Save As Template” where you can take a completed project that has already had some of its default settings adjusted throughout the design process and use those default settings as a basis for your template. Once you save an existing plan or layout as a template, you can open up that template and make more adjustments to the default settings. Additionally, you can use that template for your next project, and when that project is complete, use the “Save As Template” feature again to continually refine your template over time.
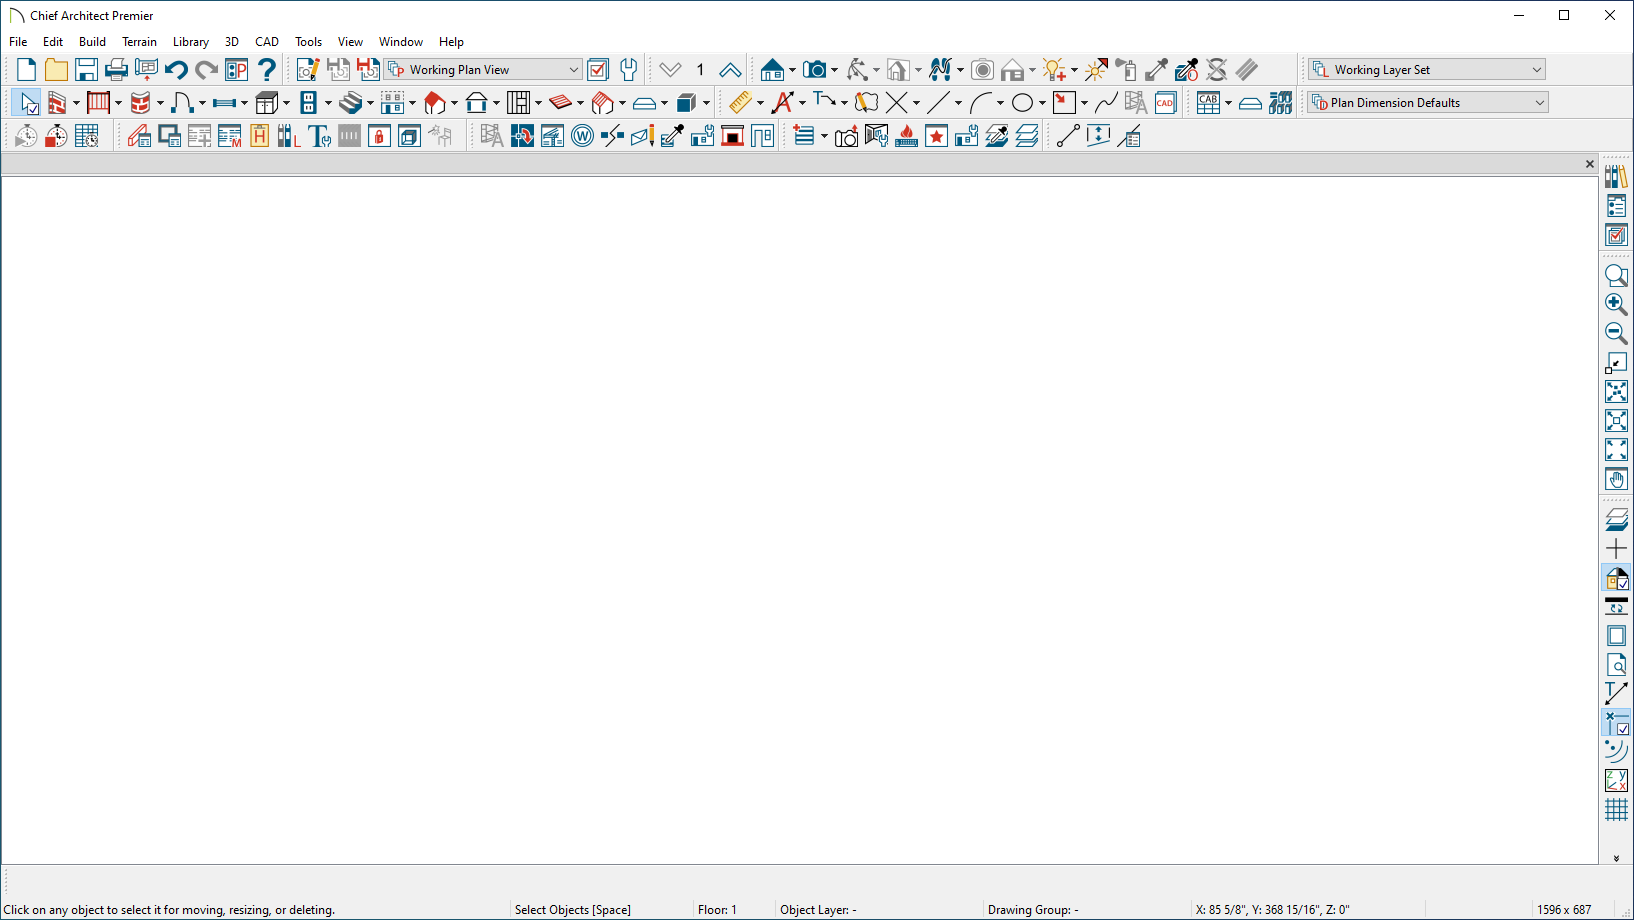
6. Customize your toolbars and hotkeys
You can customize the software’s interface so that your most used tools are directly on the toolbars for quick access. This reduces the number of mouse clicks and time spent navigating through menus to access your favorite tools. You can even have custom toolbar buttons access library items. This can be useful if you have items that are required for every plan, such as appliances. Learn how.
Toolbar configurations are groupings of tools that you can quickly switch between. The software comes with the default configuration, a terrain configuration, and a space planning configuration. You can create your own toolbar configurations for specific tasks. For example, if you work a lot in kitchens, baths, or interiors, you may consider creating a custom toolbar configuration that has toolbar buttons for cabinetry, appliances, fixtures, and accessories.
Hotkeys are keyboard strokes you can assign to tools to activate the tool. An out-of-the-box hotkey you probably already use is the spacebar button to unselect the currently selected object, which frees up the mouse to click on another object. You can set up hotkeys for any tools you frequently use increasing your design speed. Learn how.
7. Consider upgrading your computer
Computer technology is constantly advancing and upgrading your computer can increase your productivity by improving how fast the software operates and unlocking software features that require newer computers. For example, Chief Architect X13 or newer on a Windows computer that meets our recommended system requirements can create a photo realistic view in seconds as opposed to minutes or hours. For many, this time savings makes upgrading your computer an absolute must.
If you are considering upgrading your computer, make sure to review our system requirements and tips for buying a new computer. If you get a new computer, make sure to backup Chief Architect content and transfer it to the new computer.
8. Consider upgrading to the current version of Chief Architect
One of the biggest components to improving your productivity is utilizing new features that are added with each upgrade to the program. Integrating new features into your workflow makes it easier to perform tasks and allows you to do new things you couldn’t previously do. This helps you to create designs, high-quality 3D renders, and construction documents faster and in more detail.
Learn about the new features added to the most recent version.

You can download a free trial to evaluate the new features and see how the new version performs on your current computer.
What tips have improved your productivity in Chief Architect? Make sure to share them in the comments!


